Painting and Texturing Using Photoshop
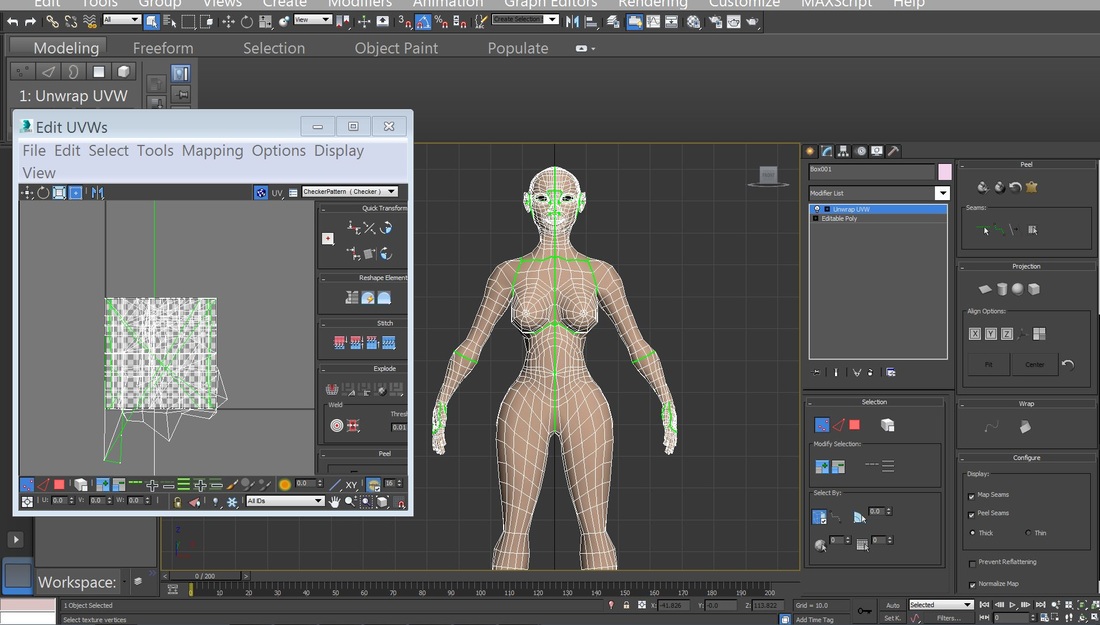
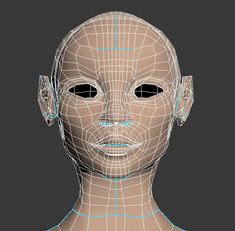
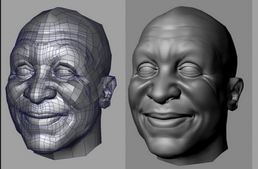
A 3D object has many sides and most software's cannot correctly place a 2D texture over a 3D object hence the need for UV mapping and unwrapping which stretches out this 3D image into 2D for easy texturing (Masters, n.d.). Texturing is the process of adding skin and color in from of a 2D map onto a 3D model. The flexibility of Photoshop and its wide variety of blending options and layer adjustment tool still makes it the preferred texturing tool among many 3D artists.
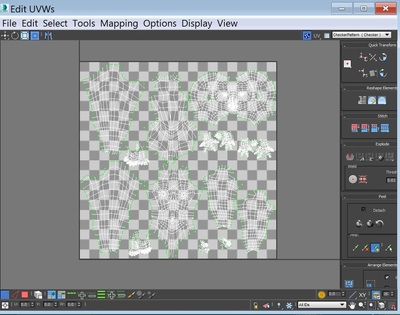
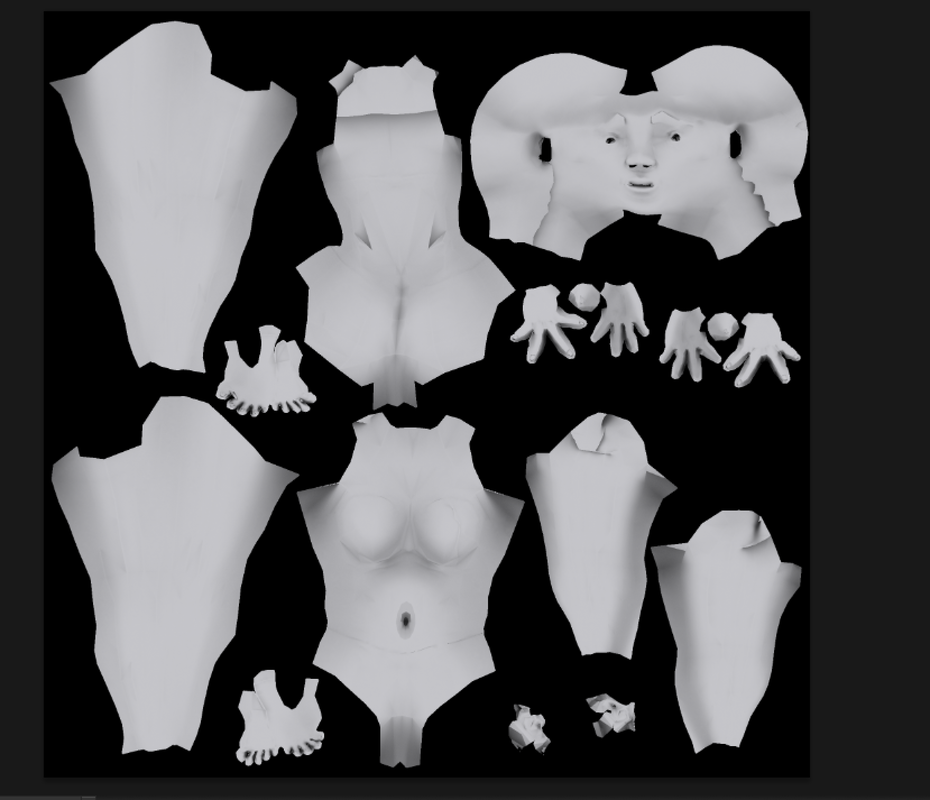
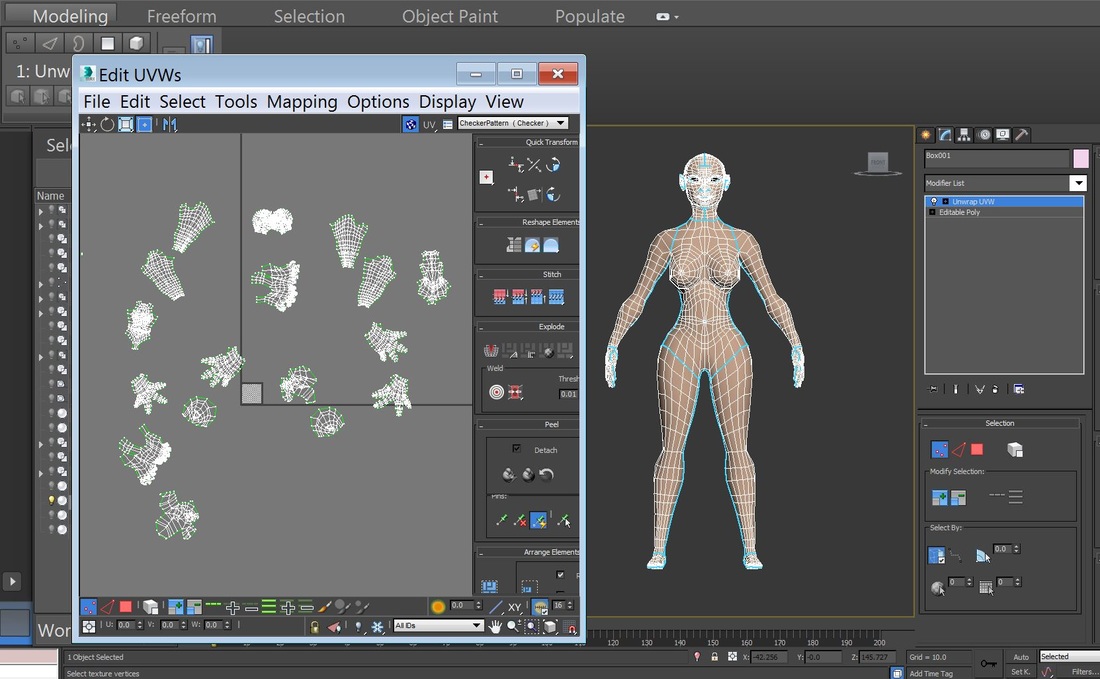
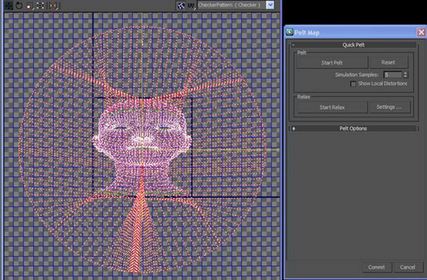
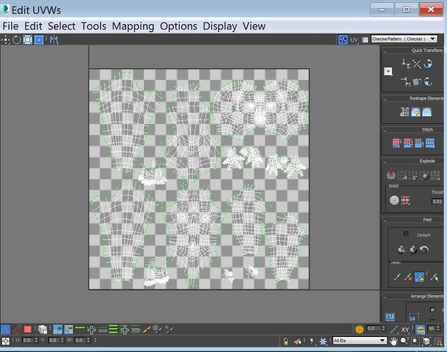
To begin texturing, the unwrapped UV template is brought into photoshop after being saved as a targa image and exported as 32 bits.
To begin texturing, the unwrapped UV template is brought into photoshop after being saved as a targa image and exported as 32 bits.
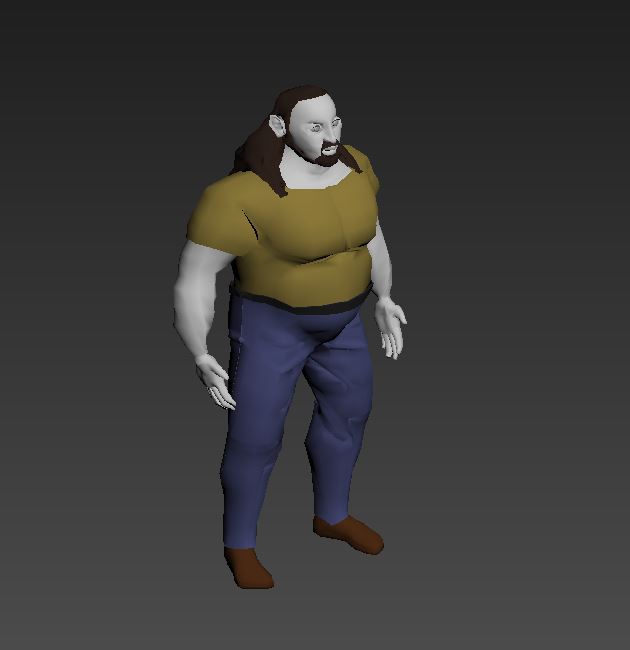
After placing it in photoshop, a suitable seamless skin texture is placed as a layer and the result is seen below:
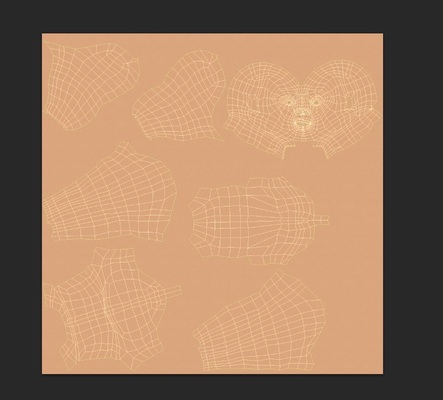 |  |
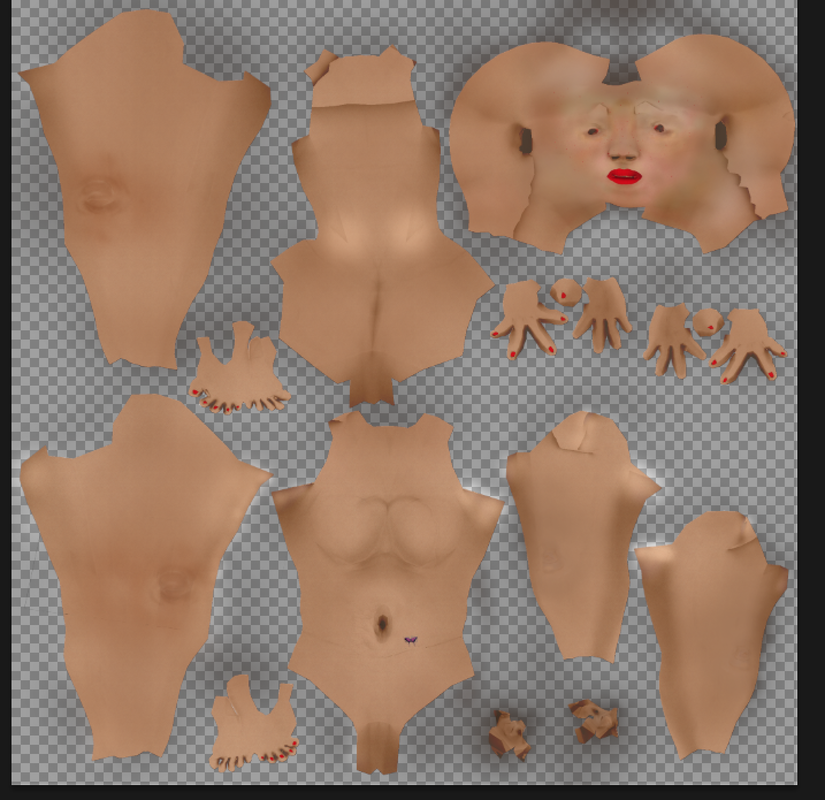
Getting the right texture in is important so that recurring seams wont give the skin a terrible color. after this is done different layers are added at random to begin painting. Seperating these colors into layers allows for flexibility of good blending modes and colors like brown, red, pink, green, orange and so on are painted in until the desired color is attained. Exporting the saved targa image back to 3dsmax is done at 24bits.
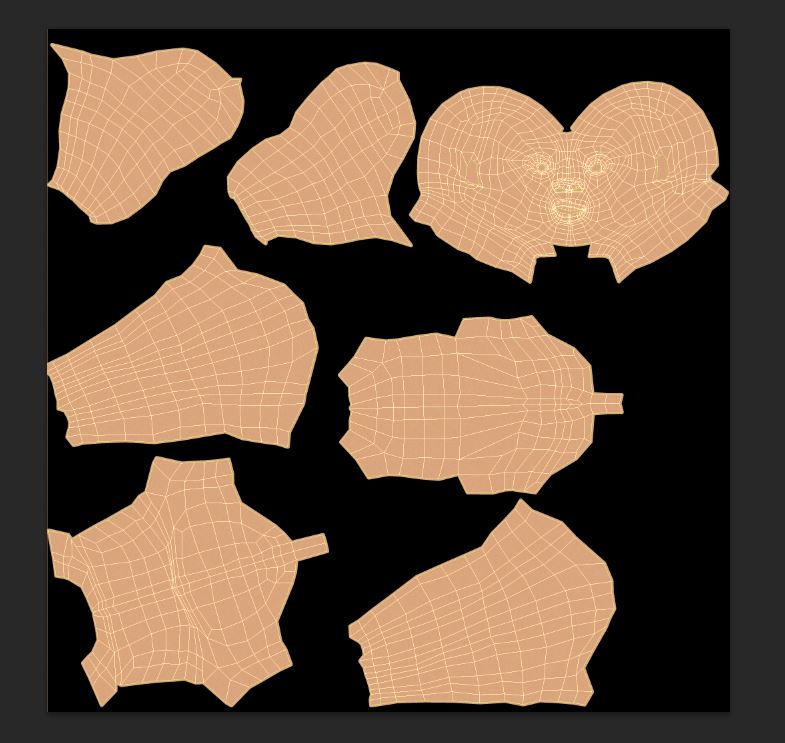
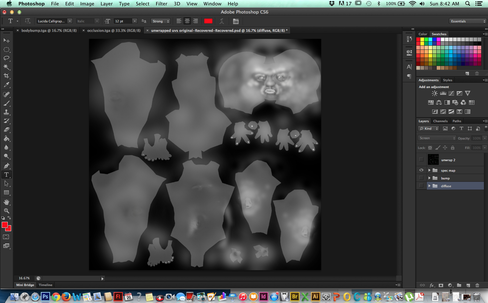
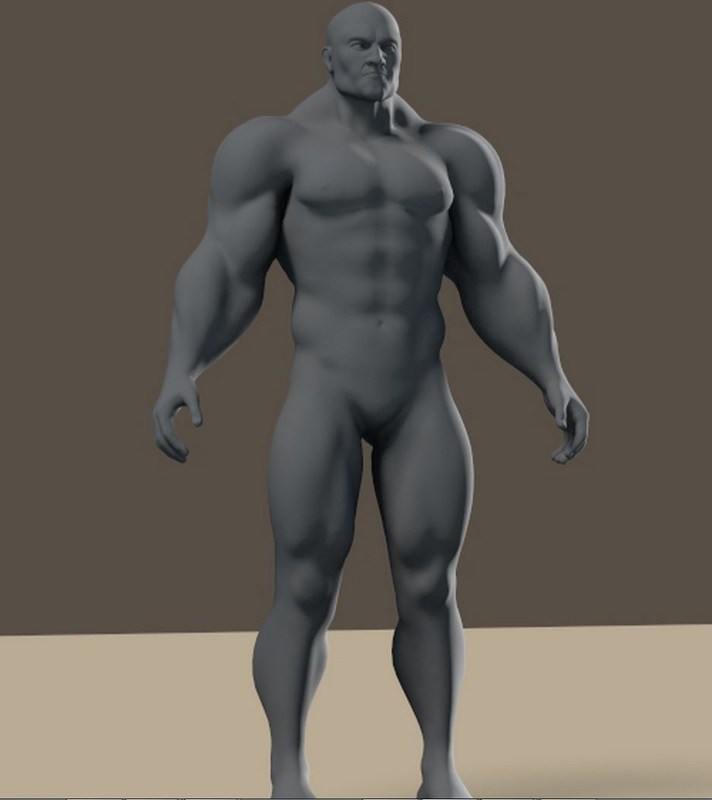
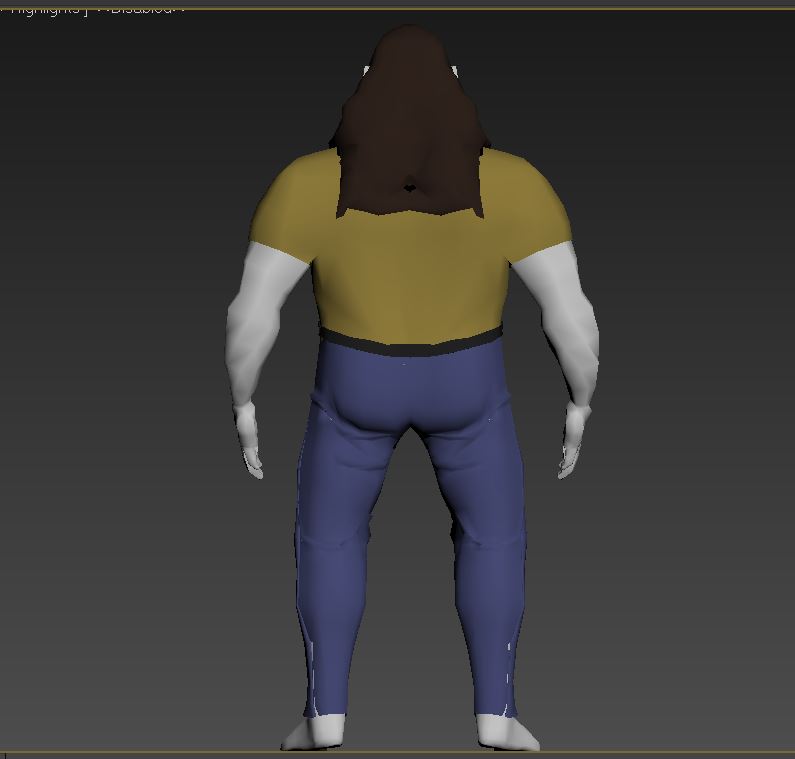
Varying the brushes used for painting and flow also helps to achieve tremendous results. After the painting is completed a flat image as shown below is the resulting output.
Varying the brushes used for painting and flow also helps to achieve tremendous results. After the painting is completed a flat image as shown below is the resulting output.
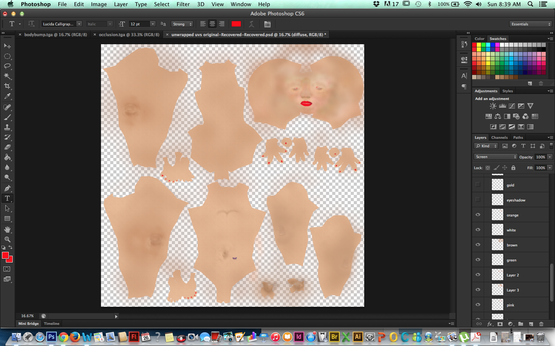
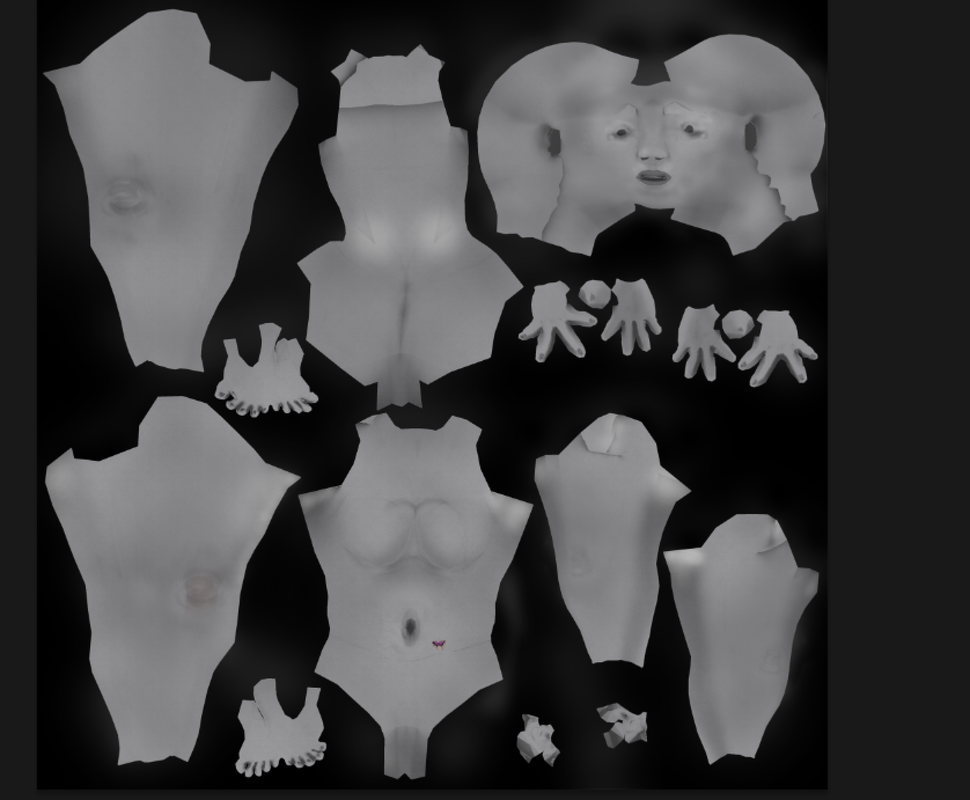
To give it a measure of depth, an occlusion image is added. This occlusion map is obtained by baking all the materials in the viewport in the presence of light, rendering the texture and applying it onto the model. This method saves a lot of render time. and gives a measure of realism
 |  |
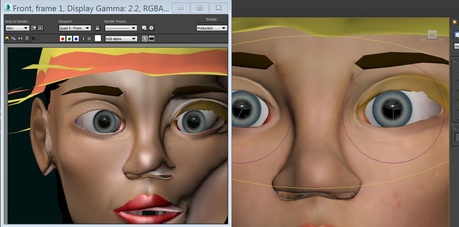
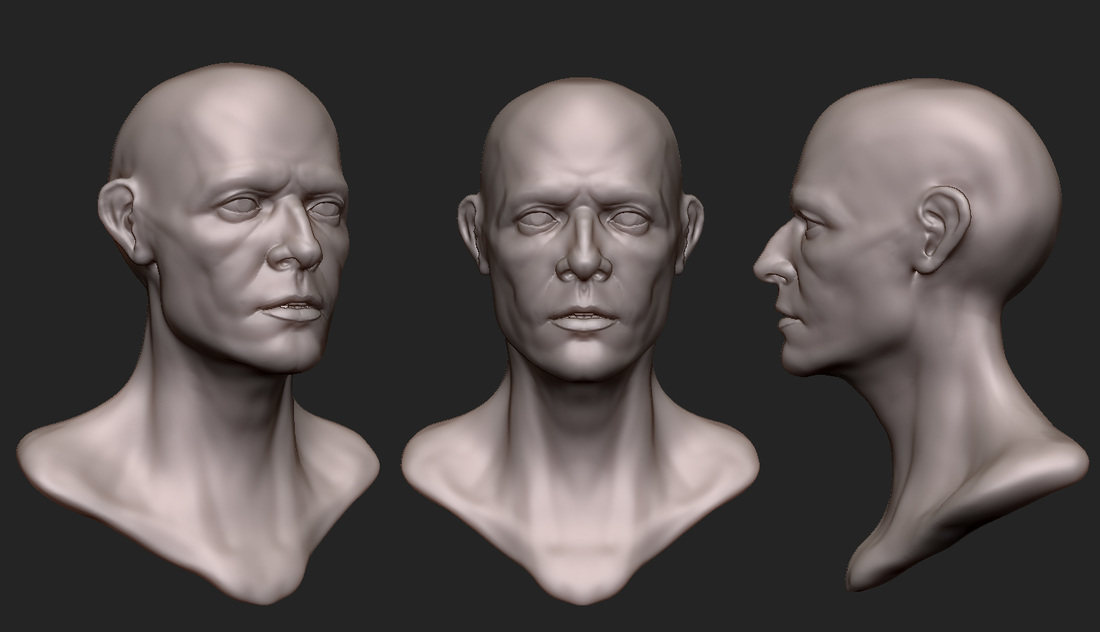
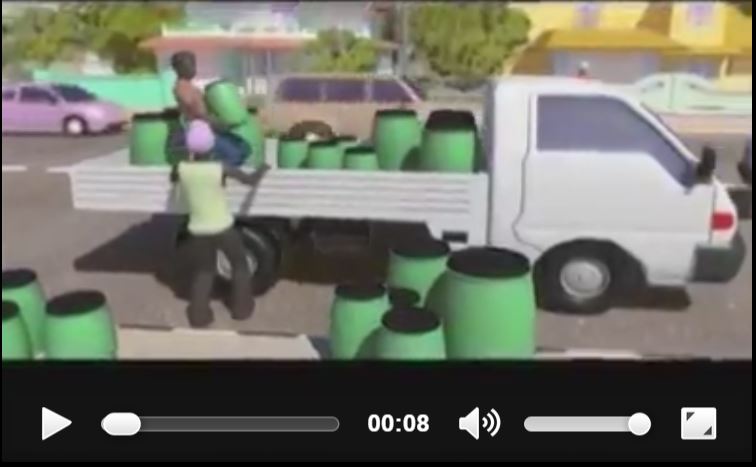
Further more bump maps and specular maps are created to give the model a measure of shine and bump. A bump map is created by desaturating the normal map also known as diffuse in photoshop. The white part of the desaturated image is pushed out while the black part is pushed in. This allows freckles, eye wrinkles and so on to be noticeable on the image.
 | 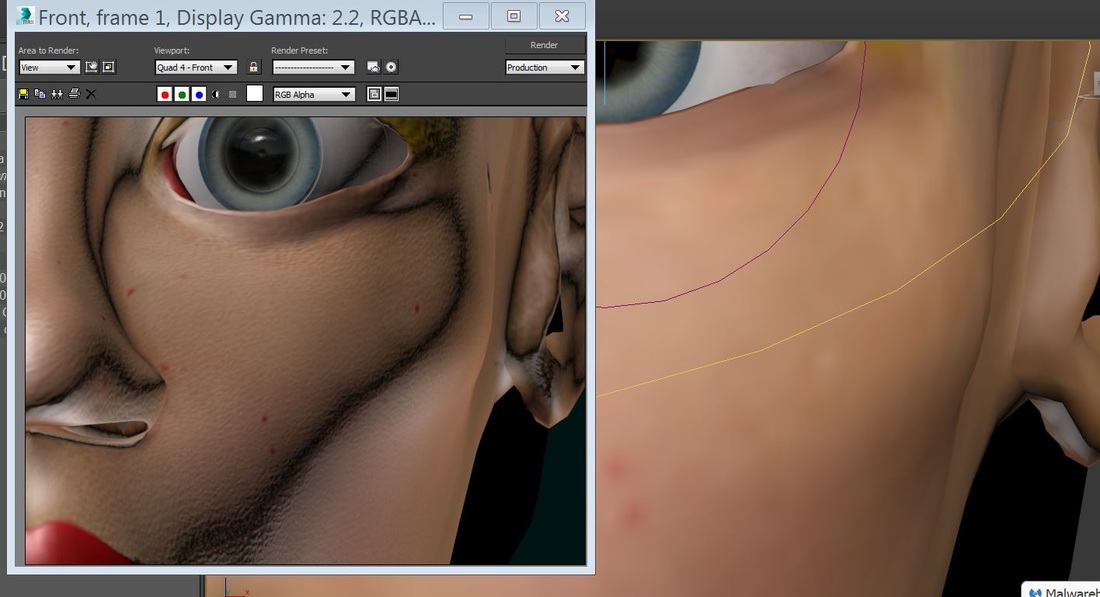 |
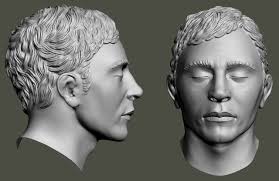
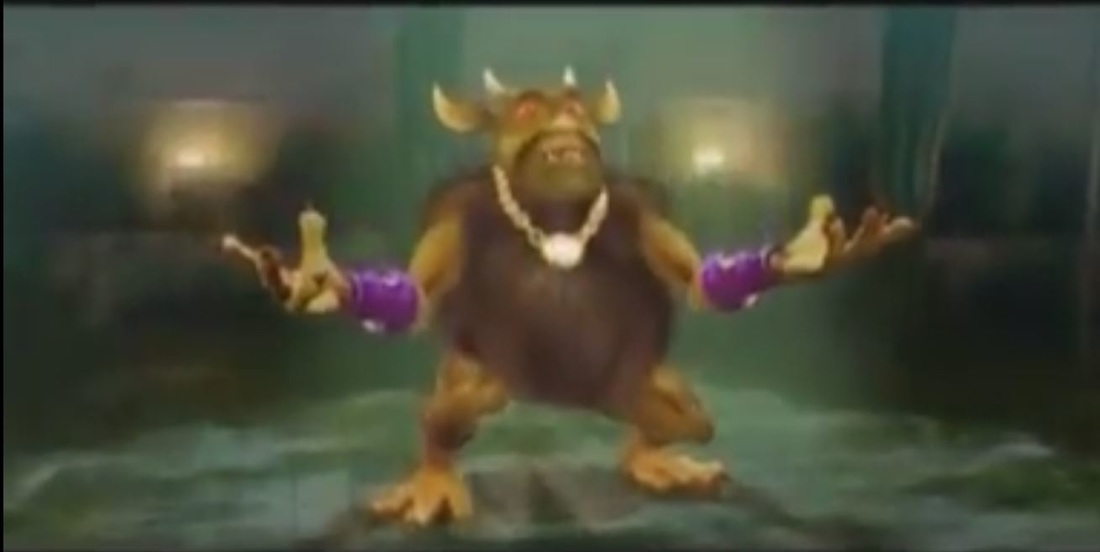
In 3D specularity refers to the degree of shine an image has. Desaturating the image is also done to get a specular map and 3dsmax will read the white part as shiny and dark places as non shiny. White color can be painted into desired areas on the image to achieve this. The forehead, top of the nose cheekbones and so on are a few areas on the body that are usually shiny and are depicted in the painted image below.
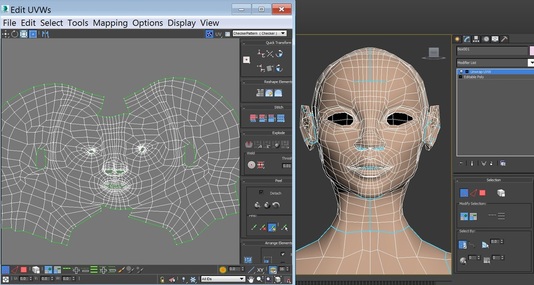
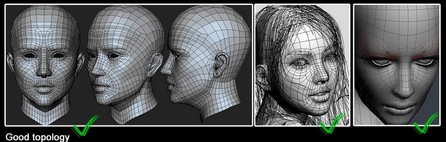
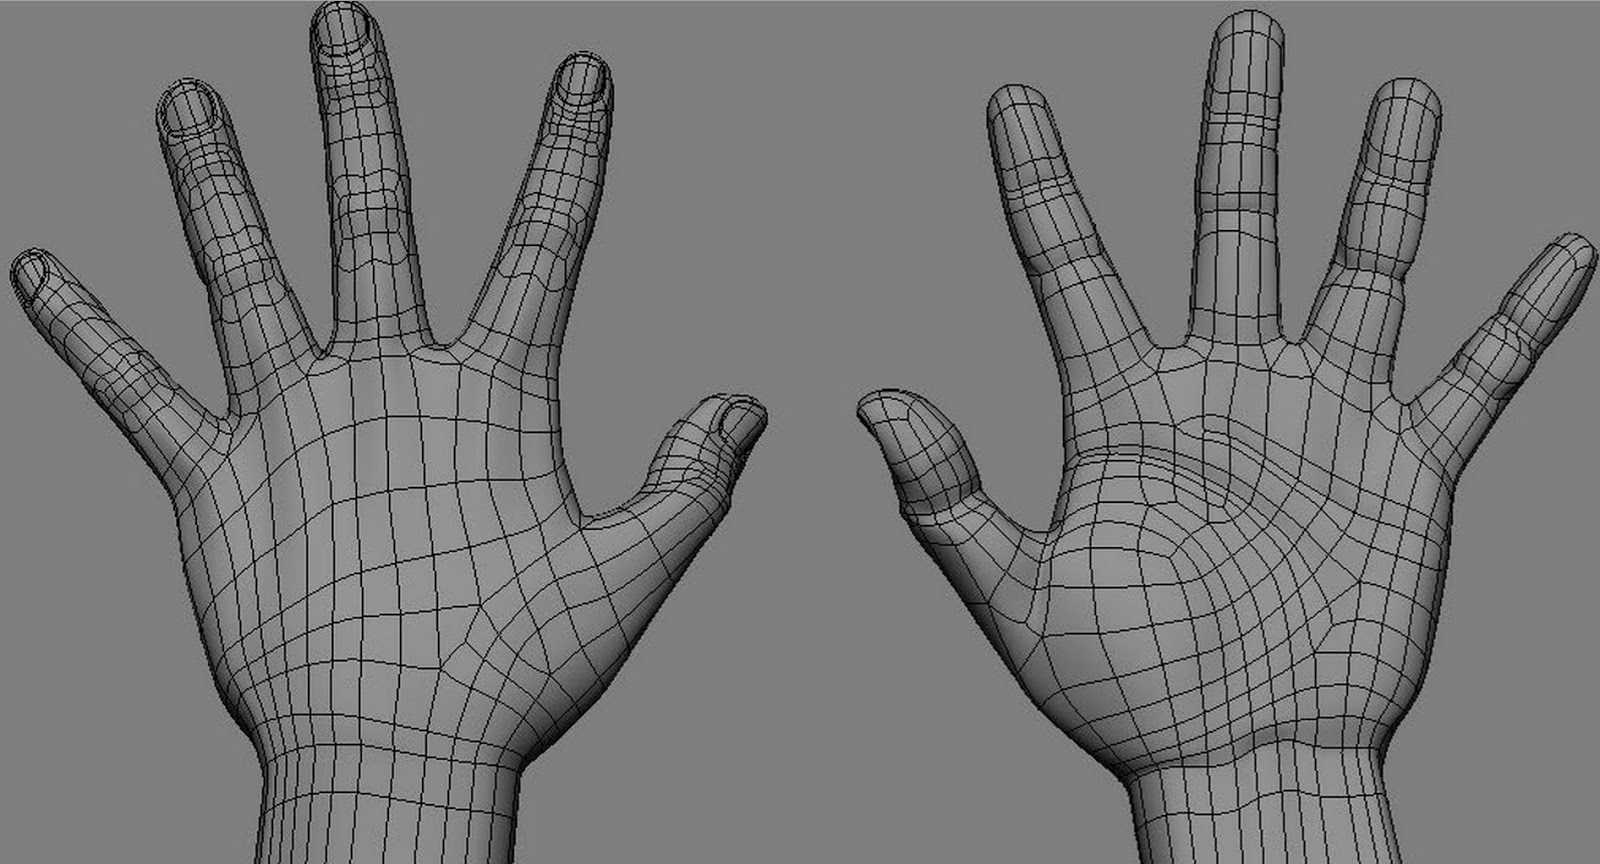
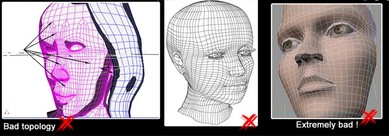
A major lesson I learnt while unwrapping and texturing is to properly arrange a UV map before beginning texturing to avoid seams like this.


 RSS Feed
