Modelling My First Human Character
Creativity is an indispensable part of art and is also an indispensable tool in modelling. Even when you have to model a character from reference, the few tweaks made here and there to suit your taste without disrupting proportion is all part of creativity. You'll be amazed at how one character modeled from reference by 5 different people will look incredibly different. Peter Ratner (2012), mentioned in his book that in creating a 3D human character to have elements of realism and feel, its essential that 3D artists develop a personal aesthetic ideology in addition to improving their skills on the job and I totally agree with him. For instance, a 3D created model without texture gives you a sense of the character's personality.
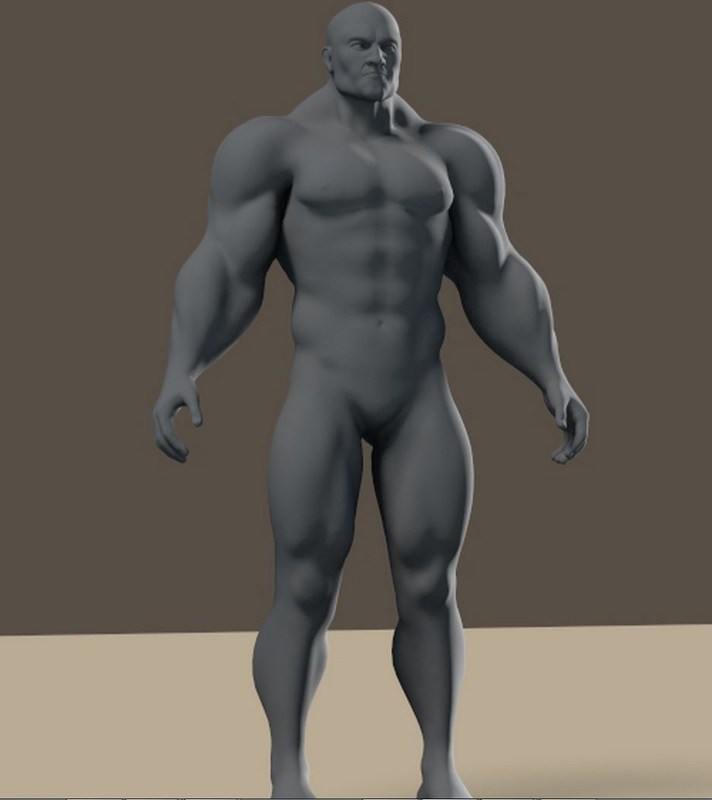 figure 1 | 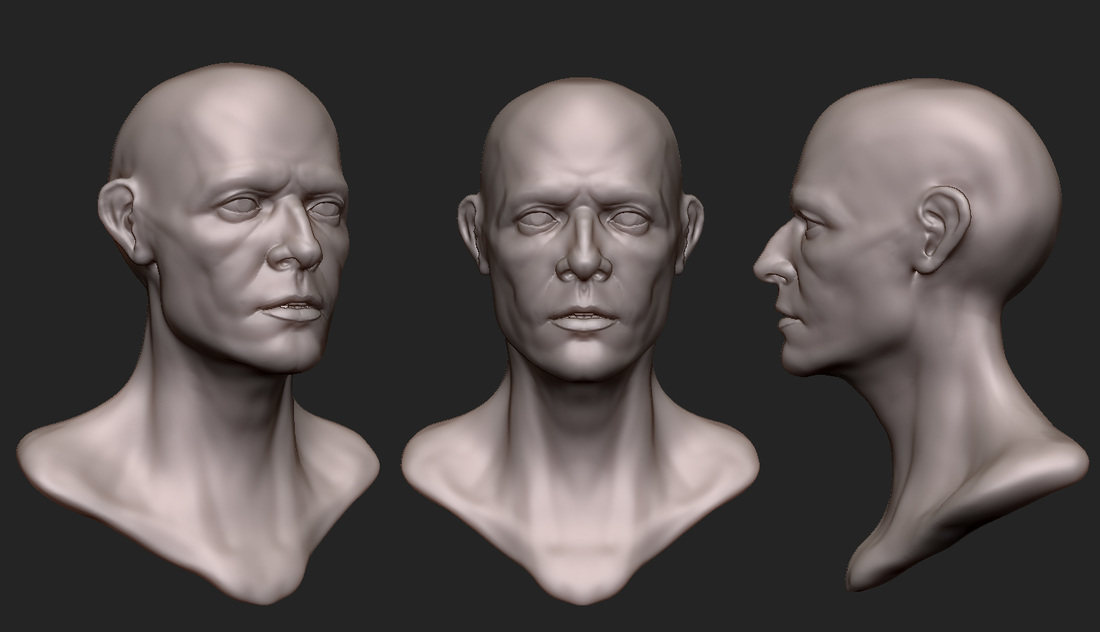 figure 2 | 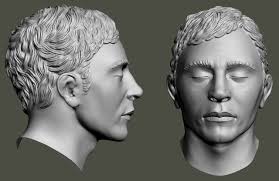 figure 3 |
As seen in fig 1, just by modelling you can deduce that this is a strong man with a mean look clearly highlighted in his strong features; whereas fig 3 shows a middle aged man with softer features; fig 2 on the other hand shows a model slightly over the middle age range with sagging cheeks and sunken eyes.
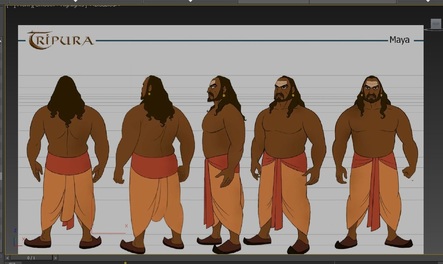
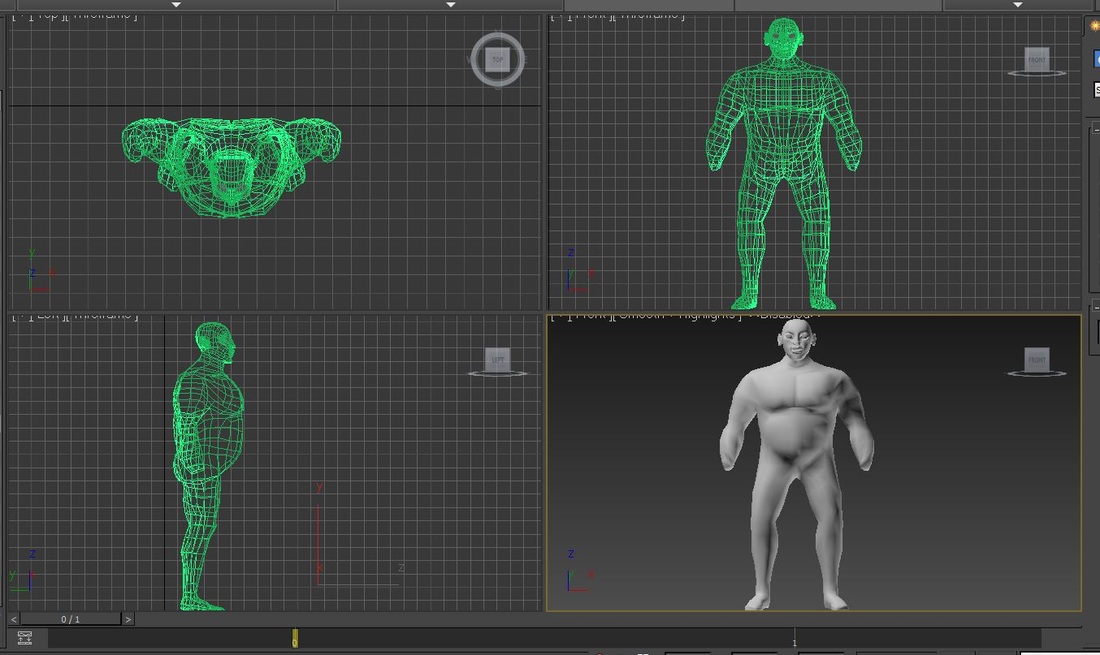
My first human model was a man modeled from reference as seen below. Big thanks to my lecturer Amit Naval for taking it really slow and making it look easy. Trust me without a solid knowledge of human anatomy, modelling could be quite difficult especially if its a realistic human character.
My first human model was a man modeled from reference as seen below. Big thanks to my lecturer Amit Naval for taking it really slow and making it look easy. Trust me without a solid knowledge of human anatomy, modelling could be quite difficult especially if its a realistic human character.
Here are a few pictures of my gradual progression
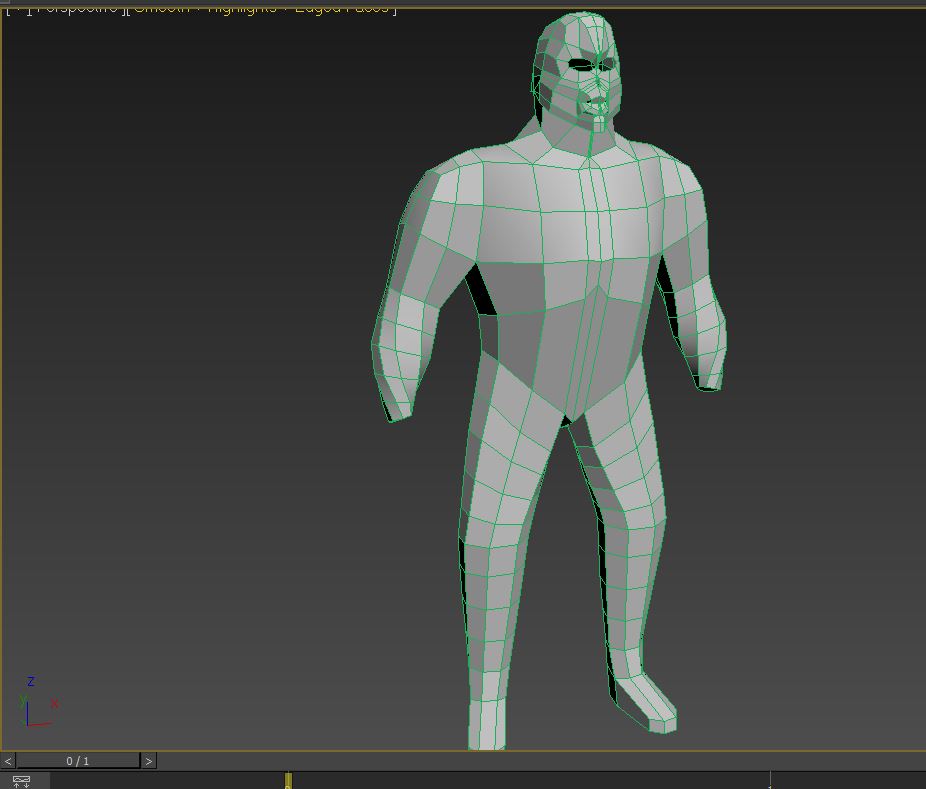 |  |  |
Modelling this was no joke and although it's not there yet, it's definitely on the journey to get there.
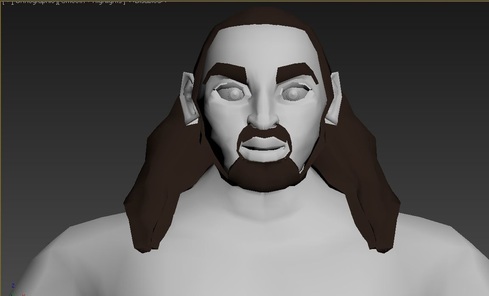
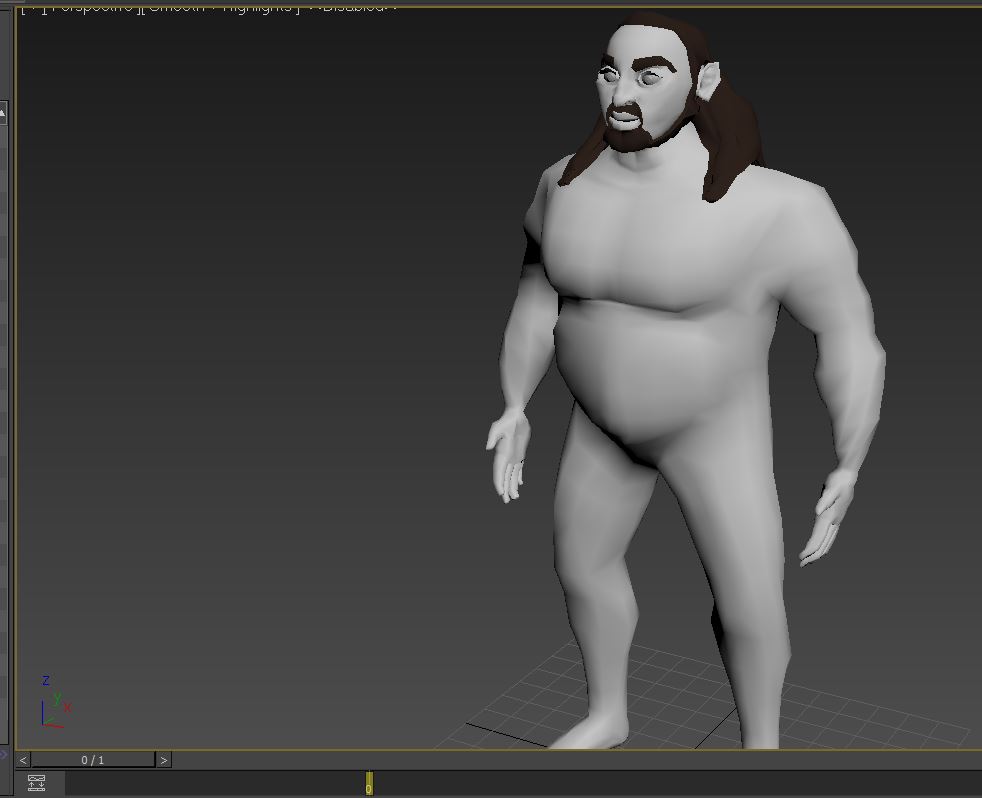
The eyebrows mustache and hair were extruded from the basic mesh to make modelling easy. If a good topology is used, this makes the extra features on the character easy to model.
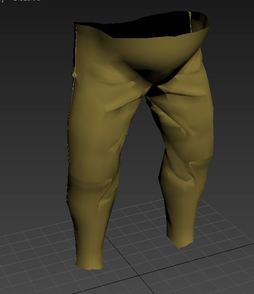 | 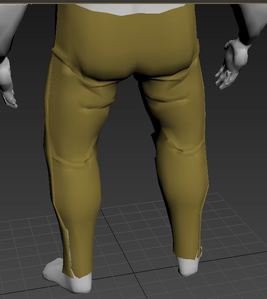 |
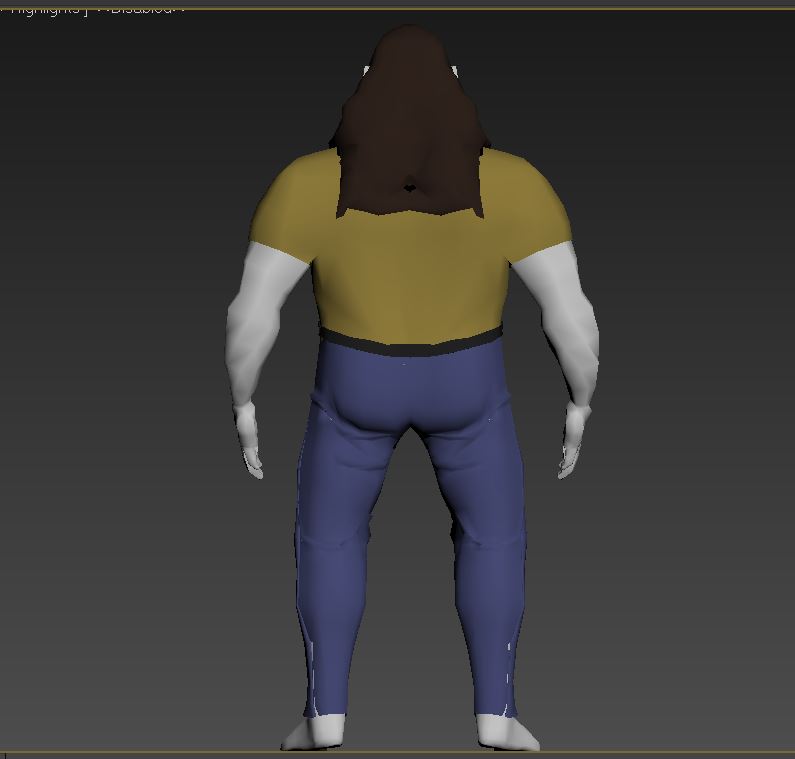
As seen above, it's the basic mesh that's extruded to give the trouser that sits perfectly on the character. The same method is applied to the shirt, shoes and so on which is then tweaked as desired. I added wrinkles to give it a measure of realism.
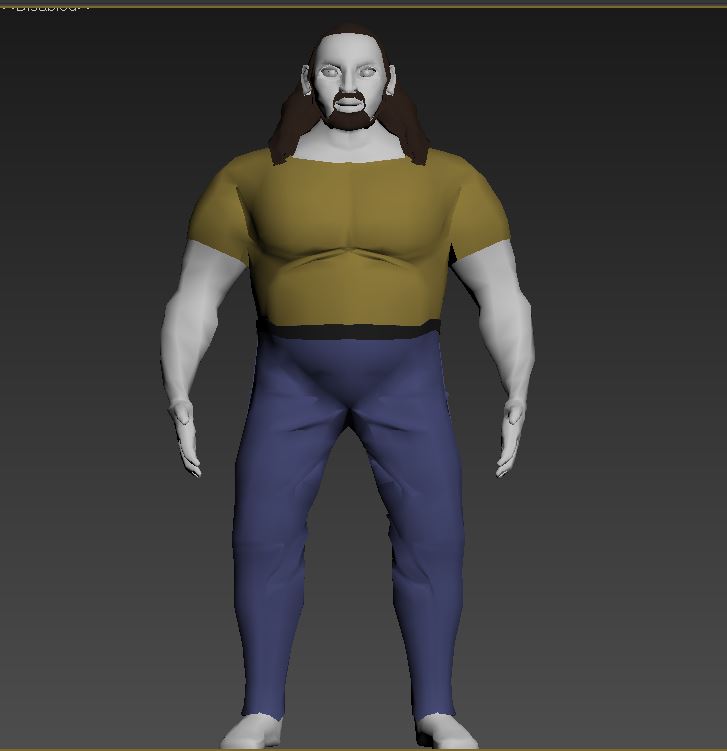
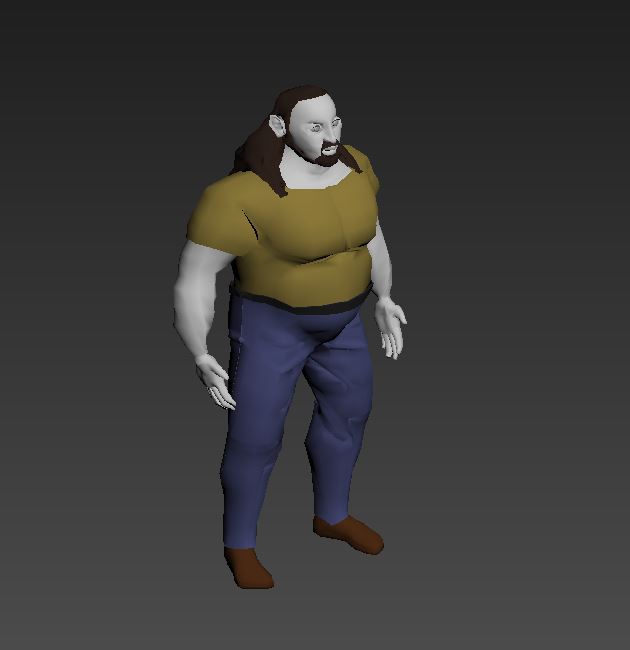
The final piece is seen below which will be unwrapped, textured, rigged and animated in coming days.
The final piece is seen below which will be unwrapped, textured, rigged and animated in coming days.
 |  |  |
References
Ratner, P. (2012). 3D Human Modelling and Animation. Retrieved from https://books.google.co.uk/books?id=Ncsh6OV2wokC&printsec=frontcover&dq=3d+modeling+and+animation&hl=en&sa=X&ei=NKWbVcz0DIfLygPYgpLQCg&ved=0CEQQ6AEwAw#v=onepage&q=3d%20modeling%20and%20animation&f=false
Ratner, P. (2012). 3D Human Modelling and Animation. Retrieved from https://books.google.co.uk/books?id=Ncsh6OV2wokC&printsec=frontcover&dq=3d+modeling+and+animation&hl=en&sa=X&ei=NKWbVcz0DIfLygPYgpLQCg&ved=0CEQQ6AEwAw#v=onepage&q=3d%20modeling%20and%20animation&f=false
 RSS Feed
