The Hassle of UV Unwraps and the magic of Pelt
UV mapping is done because we want to place a 2D texture onto a 3D model. Unwrapping is one of the methods done to achieve this; in fact a a number of modifiers like displacement and functions like texturing largely depend on UV mapping. Unwrapping as a UV technique is a little tedious but generally gives the best result.
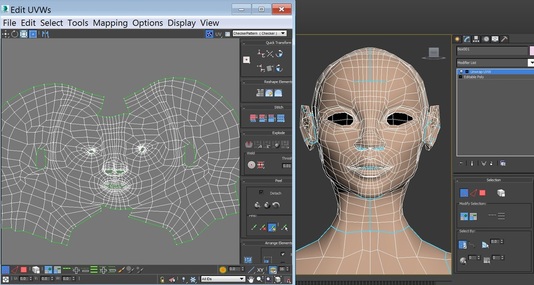
For character unwraps, there's a magic modifier as I like to call it called 'Pelt'. It requires some patience but gives tremendous results unlike other UV mapping methods. The UV Unwrap modifier has a mind of its own as such it tends to project possible seams and ways the character could be unwrapped as seen below
For character unwraps, there's a magic modifier as I like to call it called 'Pelt'. It requires some patience but gives tremendous results unlike other UV mapping methods. The UV Unwrap modifier has a mind of its own as such it tends to project possible seams and ways the character could be unwrapped as seen below
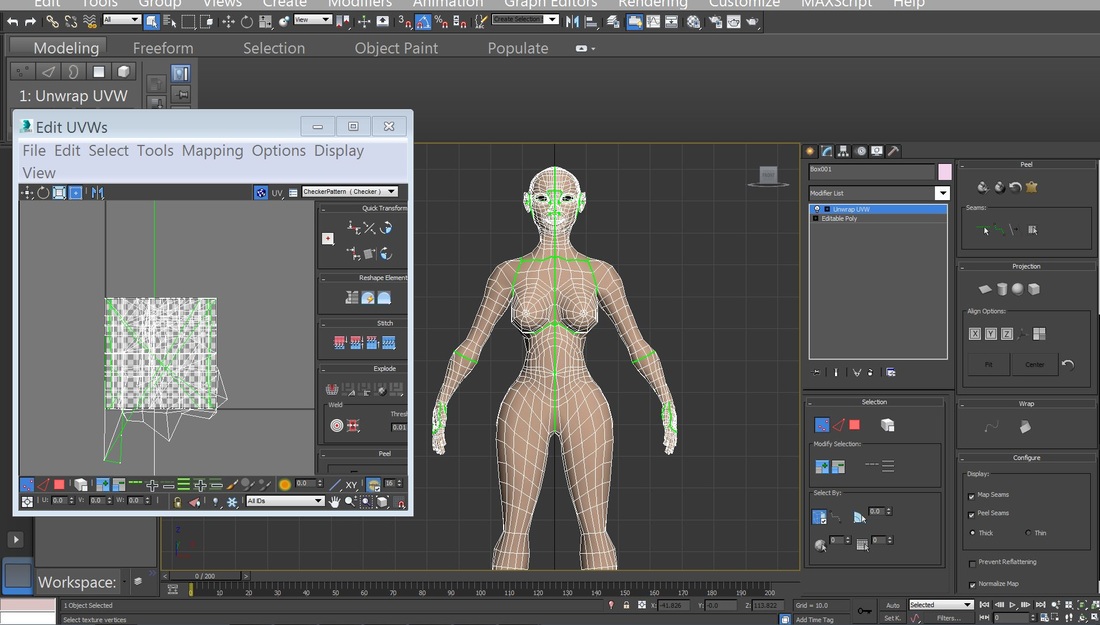
As seen above if a character is unwrapped this way it's going to give awkward results. I had a lot of issues unwrapping this because for some weird reason I couldn't move the highlighted cut polygons in the UV editor. I discovered that if the polygons are widely dispersed as shown in the uv editor, moving it will be difficult; so i had to select the whole model and pack UVs. As much as possible, cuts should be made made at specific places not obvious to the eyes (e.g in between the thighs) so that if the seams show during texturing, you can get away with it as seen depicted below.
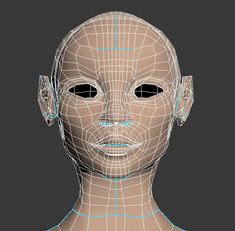
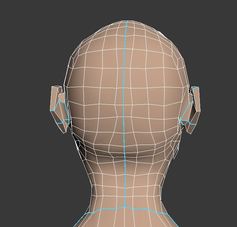
To define desired pelt seams, 'point to point seams' is selected and an indicator is shown such that you can highlight desired edges. The blue lines indicate where the pelt seams occur. As soon as this is done, pelt is clicked. and the image is usually something like this
 |  |
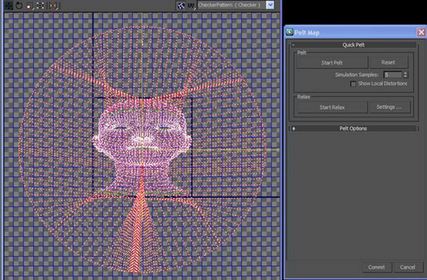
After pelting I relaxed before committing. This made relaxing in the uv editor a little easy. The same was done to other parts of the body.
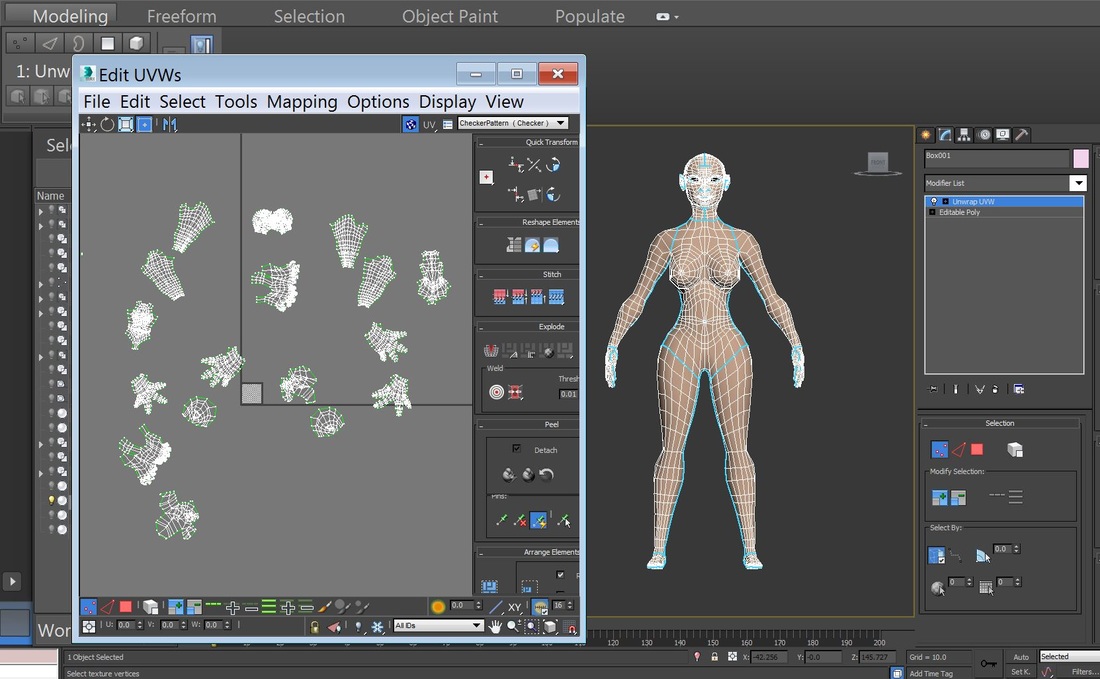
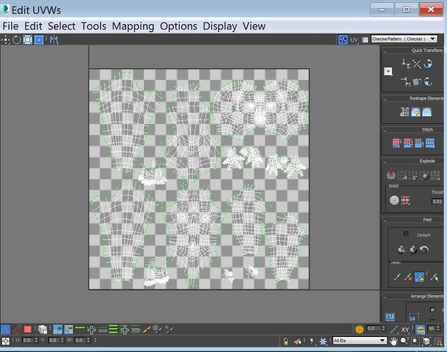
After pelting and unwrapping, the uv's were packed as seen below and rendered using the highest resolution of 4096 by 4096 and saving in 'targa format' that 3dsmax and photoshop can both recognize as that's my texturing software.
 RSS Feed
